Migrating to self-hosted
If you are switching from the cloud add-in xlwings Lite to the self-hosted add-in xlwings Lite (SH), you need to migrate existing workbooks.
After the migration, the workbooks will open with xlwings Lite (SH) and you can uninstall xlwings Lite via the add-in store or via the Microsoft 365 admin center, depending on how you installed it.
Note
You don’t need xlwings Lite for the migration, so you can uninstall it even before the migration.
Convert workbooks
Make a backup of all the workbooks you want to migrate.
Note
If a workbook contains code from both add-ins (because you previously edited it with each one), only the xlwings Lite code is kept after migration. Code stored under xlwings Lite (SH) in that workbook is discarded.
Open a new, empty workbook, then open xlwings Lite (SH). Make sure you don’t have any of the workbooks open that you want to migrate.
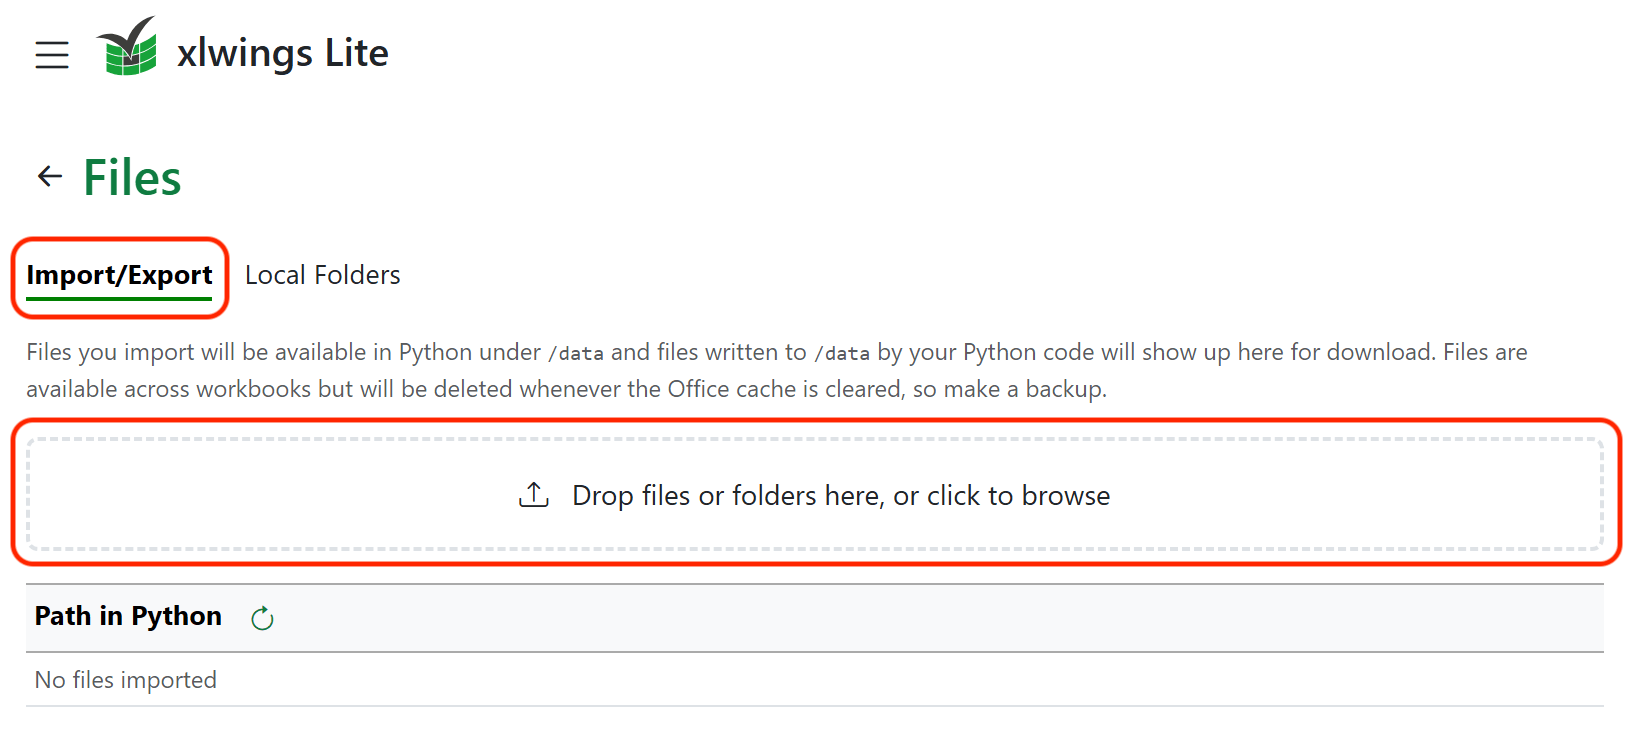
Go to ≡ > Files and select the Import/Export tab. Drag and drop one or more Excel files (or folders with Excel files) onto the drop zone.
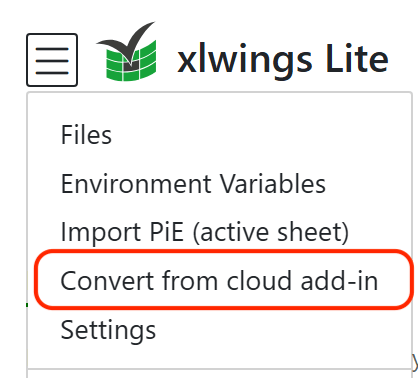
Click on ≡ > Convert from cloud add-in.
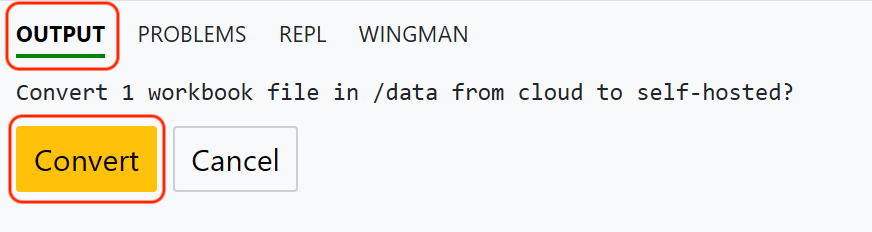
Confirm the prompt in the Output pane. Any errors during conversion will be reported there.
Once done, go back to ≡ > Files > Import/Export tab and download the now converted files (
data.zip) by clicking on Download All.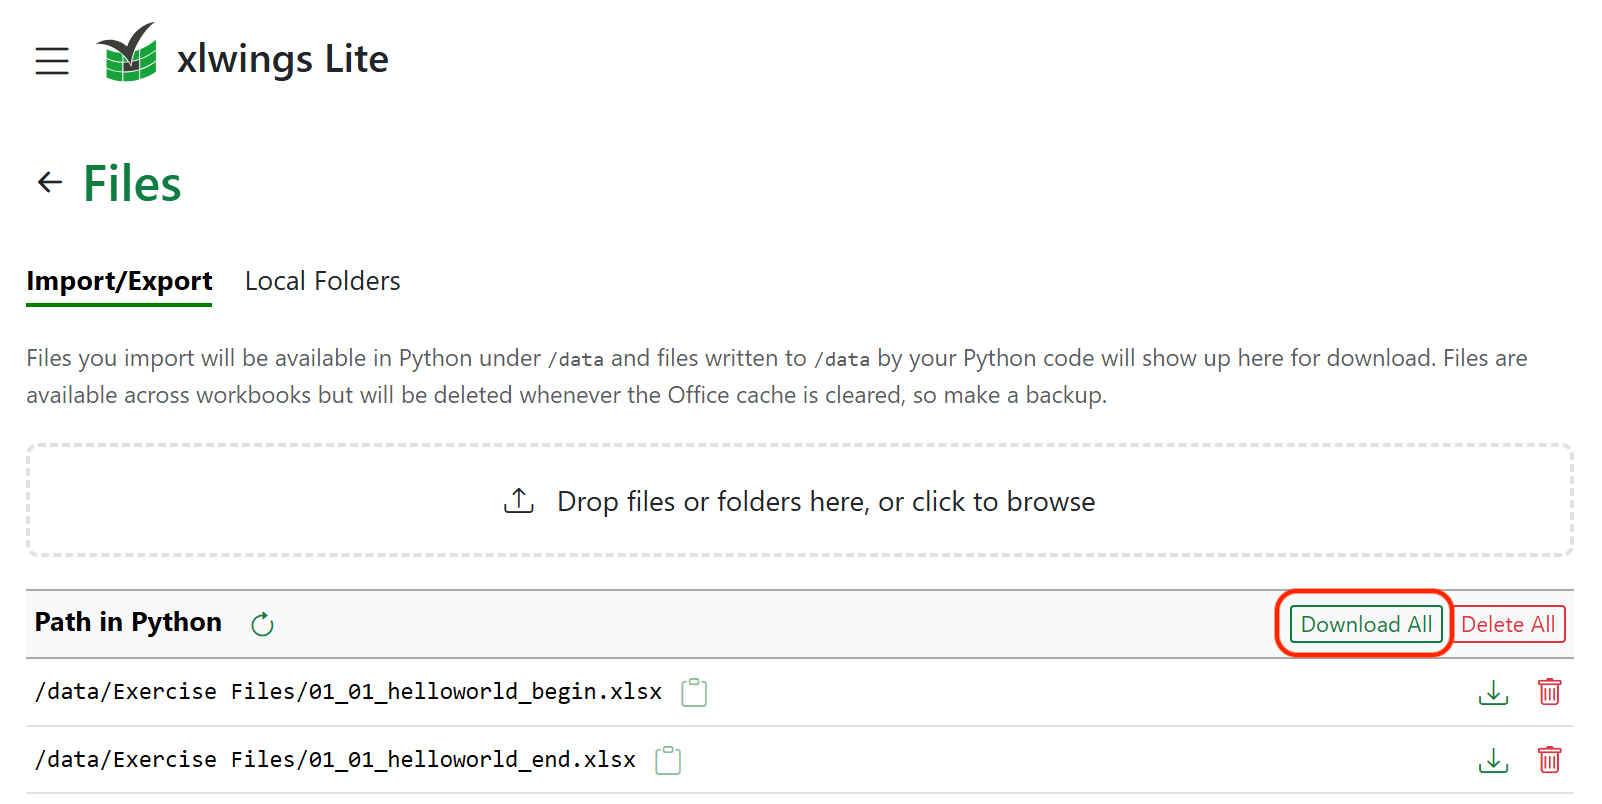
Unzip
data.zip(right-click > Extract all… > Extract) and replace your local workbooks with the version from the unzippeddatafolder.
Protected View on Windows
Since xlwings Lite runs in a browser, the converted files are tagged as downloaded from the internet. On Windows, Excel will open in Protected View, requiring you to click on Enable Editing:

If you don’t want to do this manually for each file, run the following command in PowerShell:
Get-ChildItem -Path "$env:USERPROFILE\Downloads\data" -Recurse -File | Unblock-File
Adjust the path if you saved the converted files somewhere other than Downloads\data.